I consider myself a crafty person and enjoy the occasional artsy job. Pinterest has driven me mad with desire to be creative but I rarely make the time to do anything. In fact, this little project has been in the works for several months now. I finally took the plunge yesterday and am so happy with it!
If you follow my pins or have perused my boards, I think you’ll agree that I love color and simplicity. So when my friend pinned a print by q.a. design, naturally I repinned it and began the process of trying to acquire one. But the only land mass that I wanted, she didn’t have. (Seriously. Mexico? British Columbia? Nicaragua? But no Canada?) So I decided to paint my own. …and it got me thinking that I may be able to paint my own versions of many of the prints on my pinboard here. (Obviously I will never try to reproduce the artwork of Katie Daisy. LOVE her. I actually teared up browsing her work.)
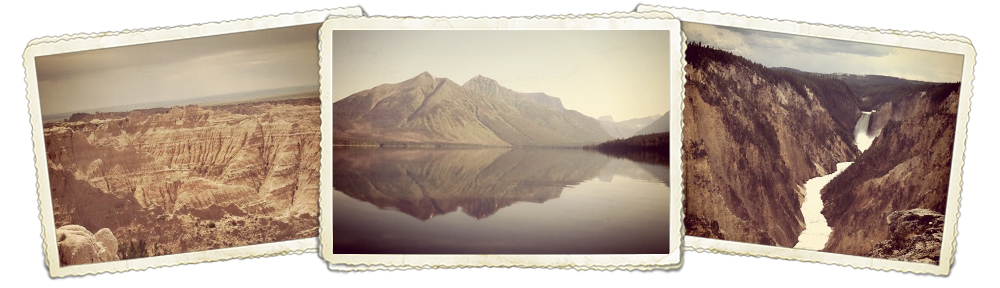
So here’s what I saw:

But I wanted Canada. So here’s what I gathered to make it:

- printout map of Canada
- painter’s tape
- paint (3 colors)
- brushes
- blank canvas
 These are the colors I chose. Martha Stewart gets me every time. I love her color selections.
 Step one: paint stripes in one color. (At this point, I still hadn’t decided what colors I wanted, but eventually nixed the yellow because our walls are a pale yellowish color). I debated how to tape off the stripes for a minute, but this was the easiest for me. Peel off the little pieces before you paint (obviously).
 This was after 3 thinly painted coats.
 While the paint was still slightly tacky but without the chance of smudging, I slowly peeled the tape off. And seriously debated with myself whether I should just leave it like that. But decided to keep going, I could buy another canvas later if I still love the idea.
I let the stripes get nice and dry while I printed out a map of Canada to the exact size that I wanted. My canvas is 16″x20″ and hangs vertically, so I knew I wanted a map that was 12″ wide. Regular printer paper is 11.5″ so I just printed what would fit on one sheet then added to it by hand… You’ll see what I mean in a second.
 I outlined the areas that I wanted to paint with a Sharpie, adding scraps of paper to the edges where Ontario, the northern islands of Nunavut, and Newfoundland had been cut off and finished those free-hand.
 Then I flipped it over and sketched with a pencil over the Sharpie lines. I centered it on the canvas by folding the map into quarters and matching the center of the paper with the center of the canvas and keeping it level according to the stripes. I taped it down and traced over the Sharpie lines with a pen, transferring a perfect outline of Canada onto my canvas. You could probably use newspaper or carbon paper (if you have any of those) and get a similar result.
 Next came the fun part, painting Canada. So. Many. Islands. This was after one coat. I think I ended up with at least 4 altogether.
 Doesn’t it kind of look like a rhinoceros head? At this point, I caked on the paint in the mainland portion, trying to get rid of the ridges caused by painting over the stripes (sanding didn’t work…). [Side bar: I’m trying not to be such a perfectionist so I gave myself 15 minutes to do what I could and decided I wouldn’t care after that.] You can still see the ridges, but you can’t see the teal color through the grey. Break for lunch and then comes the final touch.
 A heart over Vancouver. Because we left parts of our hearts there. 🙂 I’m letting it cure and trying to decide where to hang it. I also picked up four 5″x5″ canvases (they’re all on sale at Michael’s) and am mentally sketching those out now. I’ll let you know what I do with those. Now I’m off to run before the clouds get much darker!
 But it was pretty. 🙂
 I have a few more but they are specially for some friends and I don’t want to spoil the surprise.
 This is one of my favorite fabrics that I had, so I made a couple with it. I love the colors.
 I’m so glad these few turned out well! I thought a black and white fabric with neon stitching would be fun and gender neutral. Gotta stay on trend!
 Project #3: Tailoring my pants. I’ll save that for another post because this one is getting long. 😉 But I will say, it is kind of difficult to take a tasteful picture of your own bum.


